How to deploy a Nitro rollup with Docker, Popsigner, and Popkins
Overview
Arbitrum Nitro allows you to run Orbit rollups that post batch data to Celestia instead of Ethereum by using a Celestia DAS server sidecar. In this tutorial, you’ll learn how to run a Nitro rollup on Sepolia using:
- Popsigner for key management. Popsigner is a great way to create, manage, and revoke keys, or even export them if you’d like.
- Popkins for deploying contracts and chain setup. Popkins deploys the Nitro infrastructure contracts on Sepolia (RollupCreator, Bridge, SequencerInbox, etc.) and gives you the bundle to run your rollup locally.
- Docker for running your rollup bundle (two services: the Nitro sequencer and the Celestia DAS server).
In order to get started, you will need a basic understanding of the key roles that make up this stack:
- batch poster: Posts batch commitments to the SequencerInbox on L1, while the actual batch data is sent to Celestia via the DAS server. Needs ongoing ETH on Sepolia.
- staker/validator: Stakes on L2 state assertions using the BOLD protocol. Needs WETH on Sepolia.
- celestia: The signing key used by the Celestia DAS server to submit blobs to Celestia. Needs TIA on Mocha testnet.
The batch poster and staker both sign L1 transactions via Popsigner using mTLS certificates (included in the bundle). The Celestia key signs blob transactions via a separate Popsigner API key. This means you’ll have two different signing methods but potentially three different keys on Popsigner. With these combined, you will be able to run a Nitro rollup that posts to Celestia for data availability! Let’s get started.
Environment setup
This tutorial has been tested on MacOS and Linux (Ubuntu 24.04).
Before you run Nitro, you’ll need:
- Docker installed and running locally.
- An Ethereum Sepolia RPC endpoint (WSS recommended) from a provider like Quicknode , Alchemy , or Infura
- An Ethereum Sepolia Beacon Chain API endpoint (for EIP-4844 blob data). A public option is
https://ethereum-sepolia-beacon-api.publicnode.com - A Celestia Mocha testnet RPC and gRPC endpoint from Quicknode for posting and retrieving blobs
That’s it for now! Let’s get everything else set up.
Setting up keys on Popsigner
First, you’ll set up the keys for the batch poster, staker, and Celestia. This will allow us to deploy the rollup through Popkins and then start it locally, posting blobs to Celestia.
-
Go to https://popsigner.com/ and make an account by clicking “Deploy”:
-
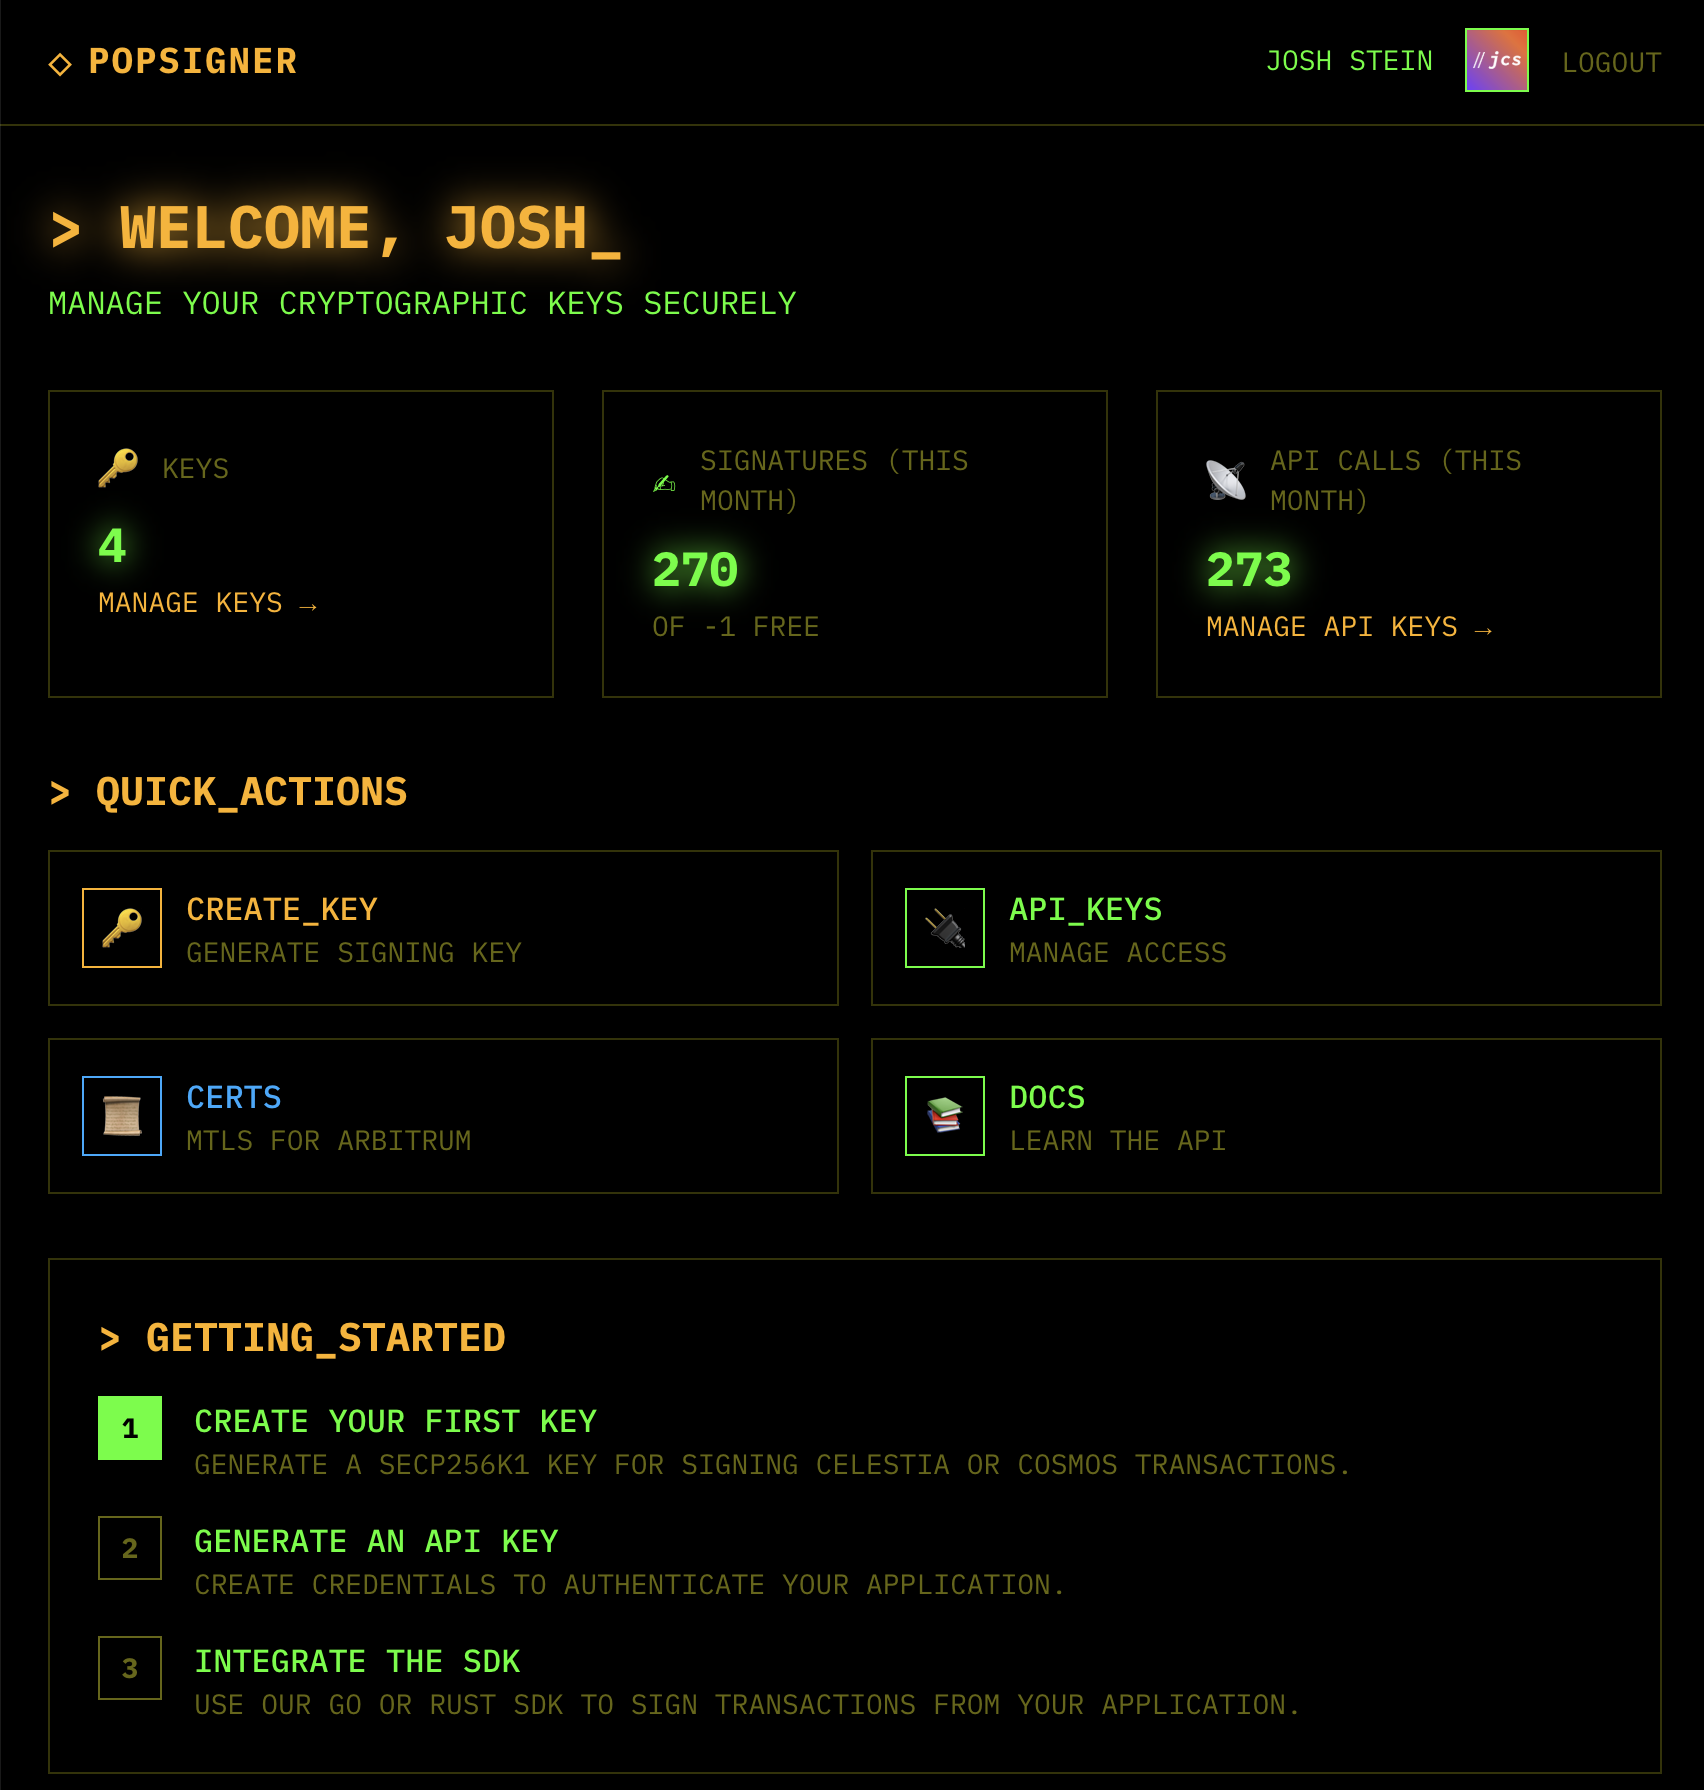
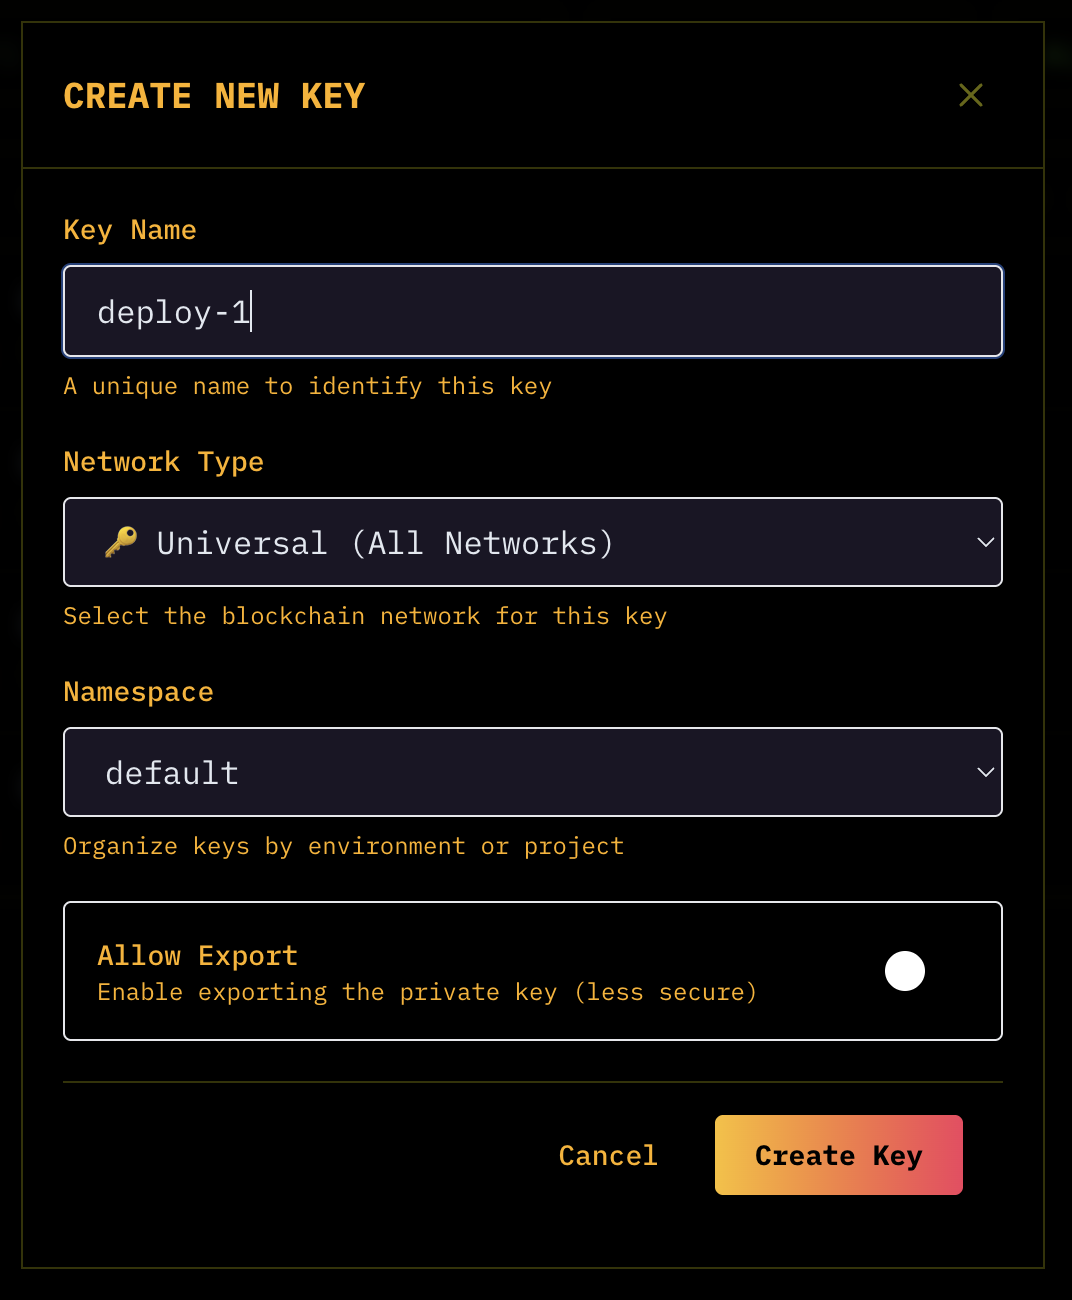
Once you’re logged in, click “CREATE_KEY” in the top right:
-
Make 3 keys, all universal for simplicity:
- deployer-1
- batcher-1
- validator-1
Funding keys
Now that you’ve set the keys up, you need to fund them accordingly.
-
Find the addresses in your dashboard, for Ethereum Sepolia keys, copy the 0x address:
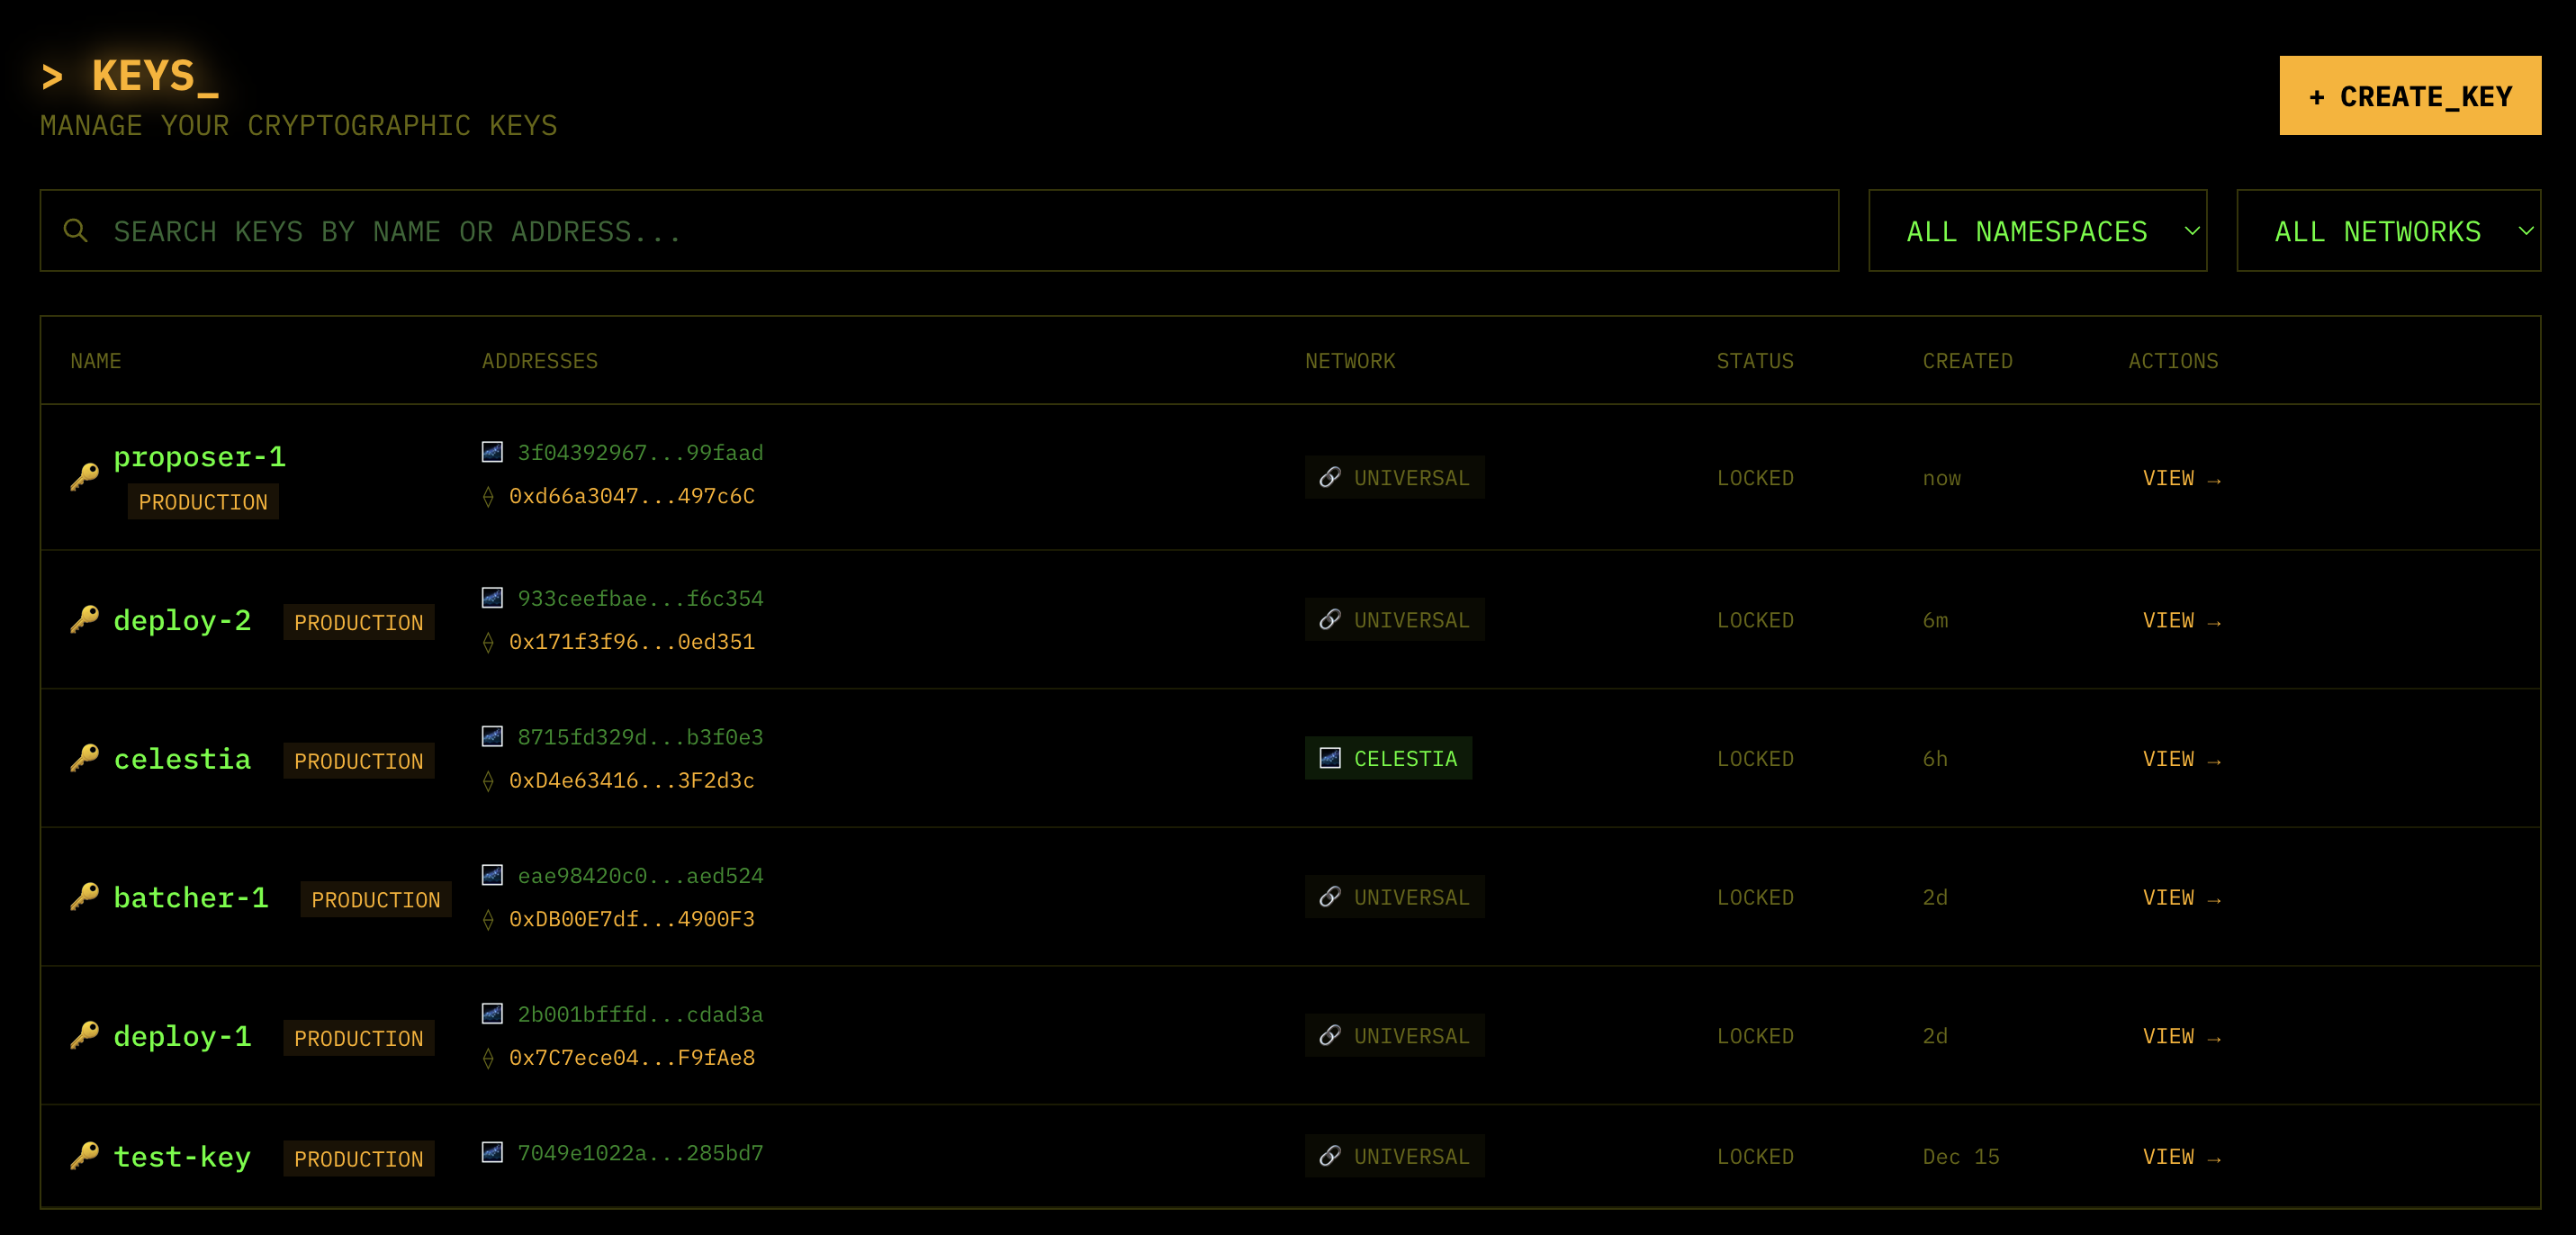
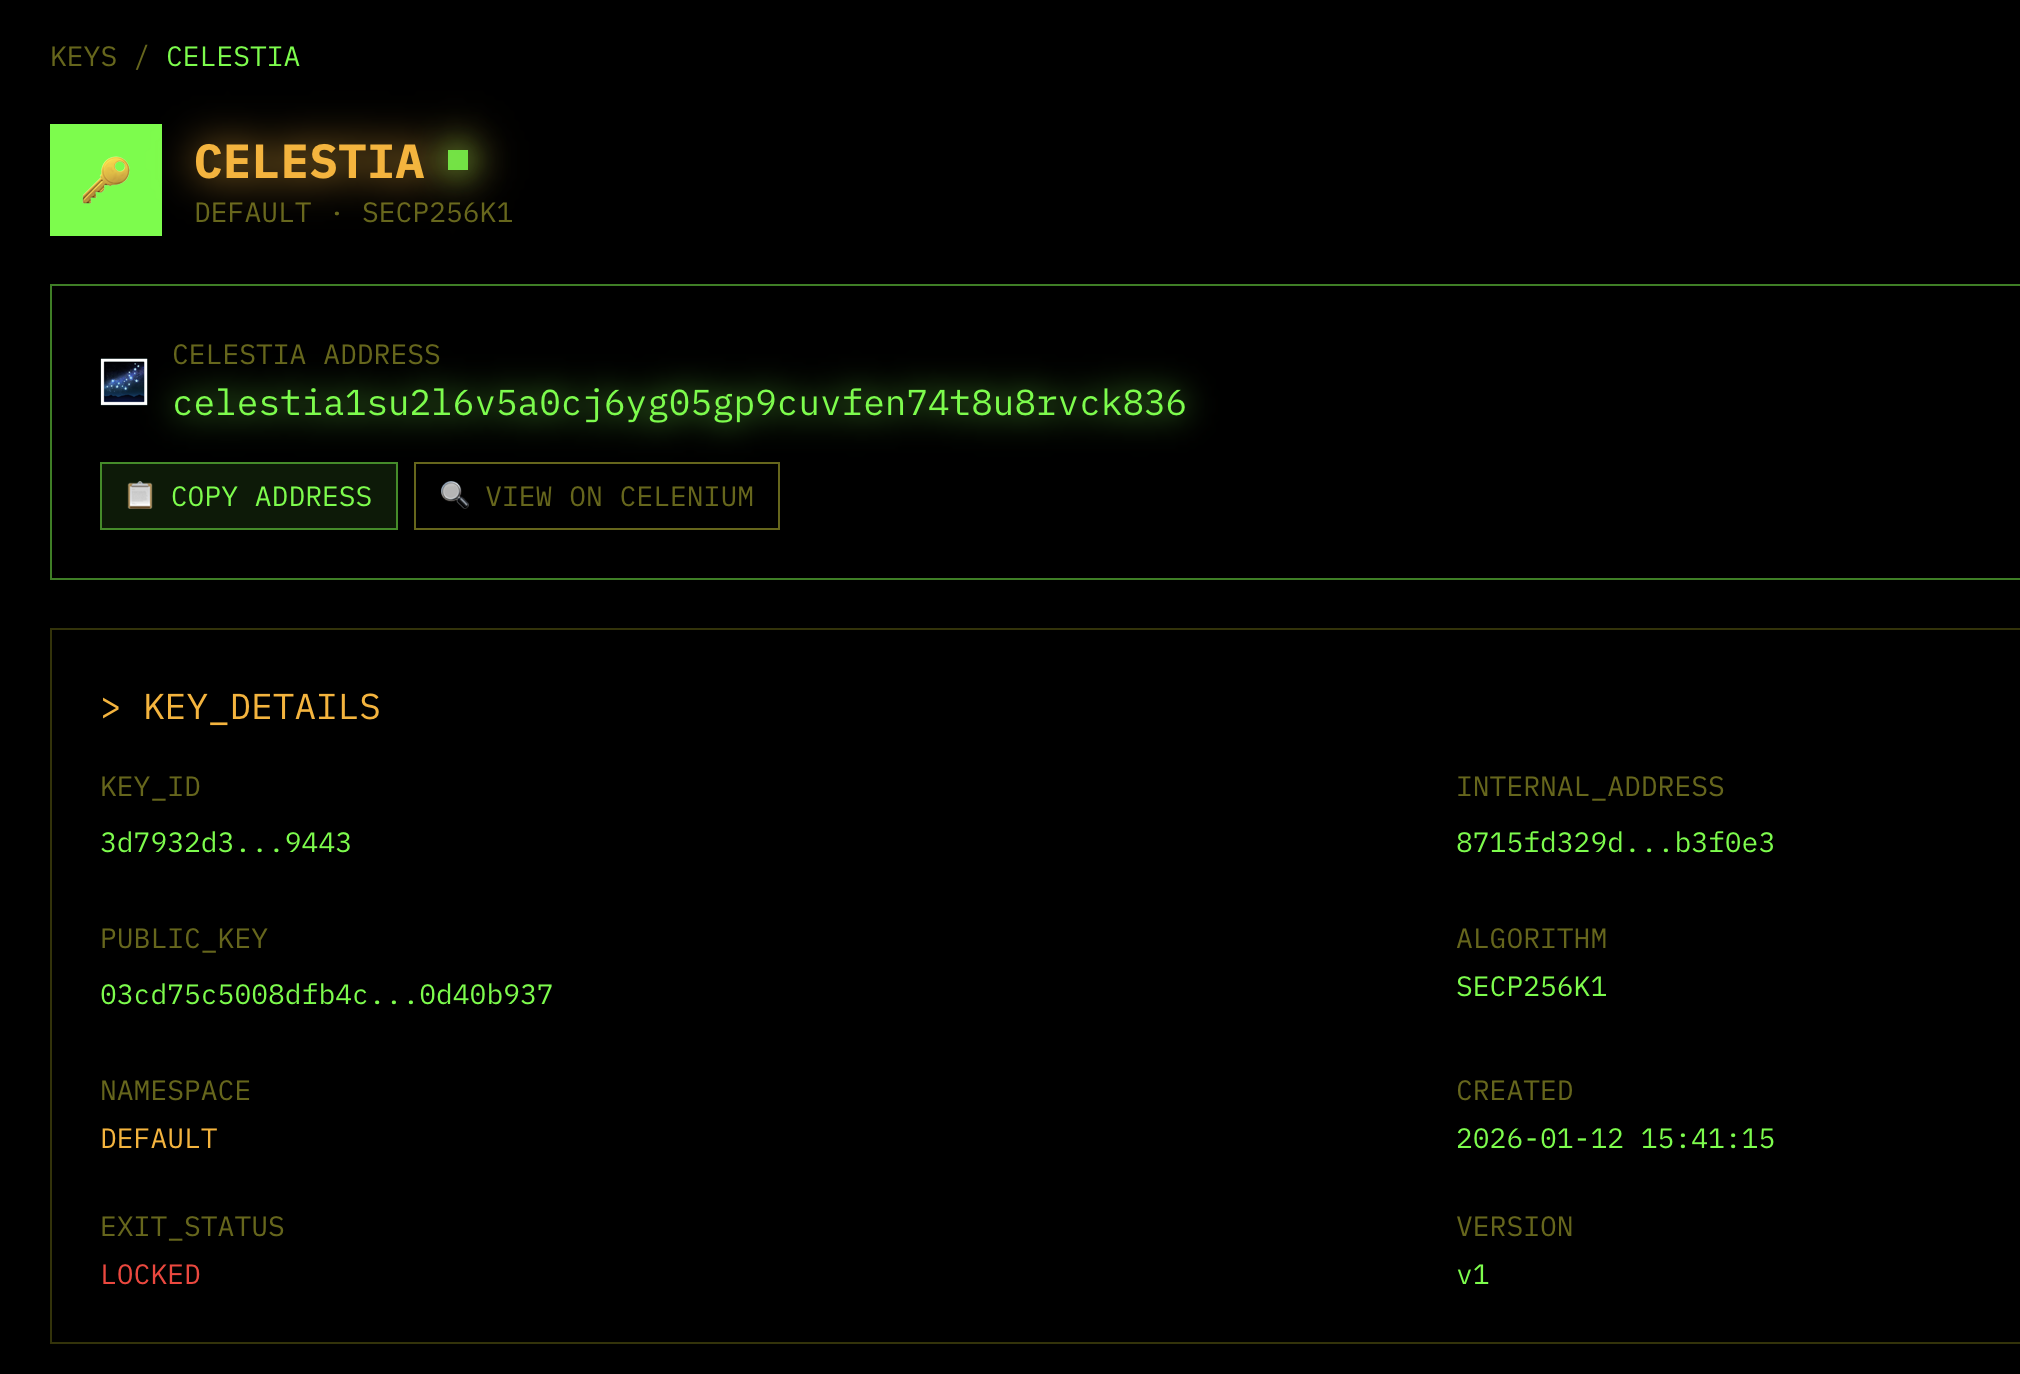
and click “VIEW” to see the Celestia address:
-
Deployer key:
deployer-1- Fund the
deployer-1with at least 0.5 sepoliaETH
- Fund the
-
Batcher key:
batcher-1- Fund with at least 0.5 sepoliaETH
-
Validator key:
validator-1- Fund with at least 0.2 sepoliaETH if you plan to run the validator/staker.
BOLD requires WETH (not native ETH) for staking. The sequencer will automatically call
WETH.deposit()with 0.1 ETH — if your staker only has exactly 0.1 ETH, there won’t be enough left for gas and it will fail withinsufficient funds for transfer. -
Celestia key:
- Here’s an example address:
celestia1su2l6v5a0cj6yg05gp9cuvfen74t8u8rvck836 - Fund the
celestia-1address with 10 Mocha TIA from the faucet
- Here’s an example address:
Setting up deployment on Popkins
Next, you’re ready to sign in to Popkins and begin your first rollup deployment with a Nitro chain.
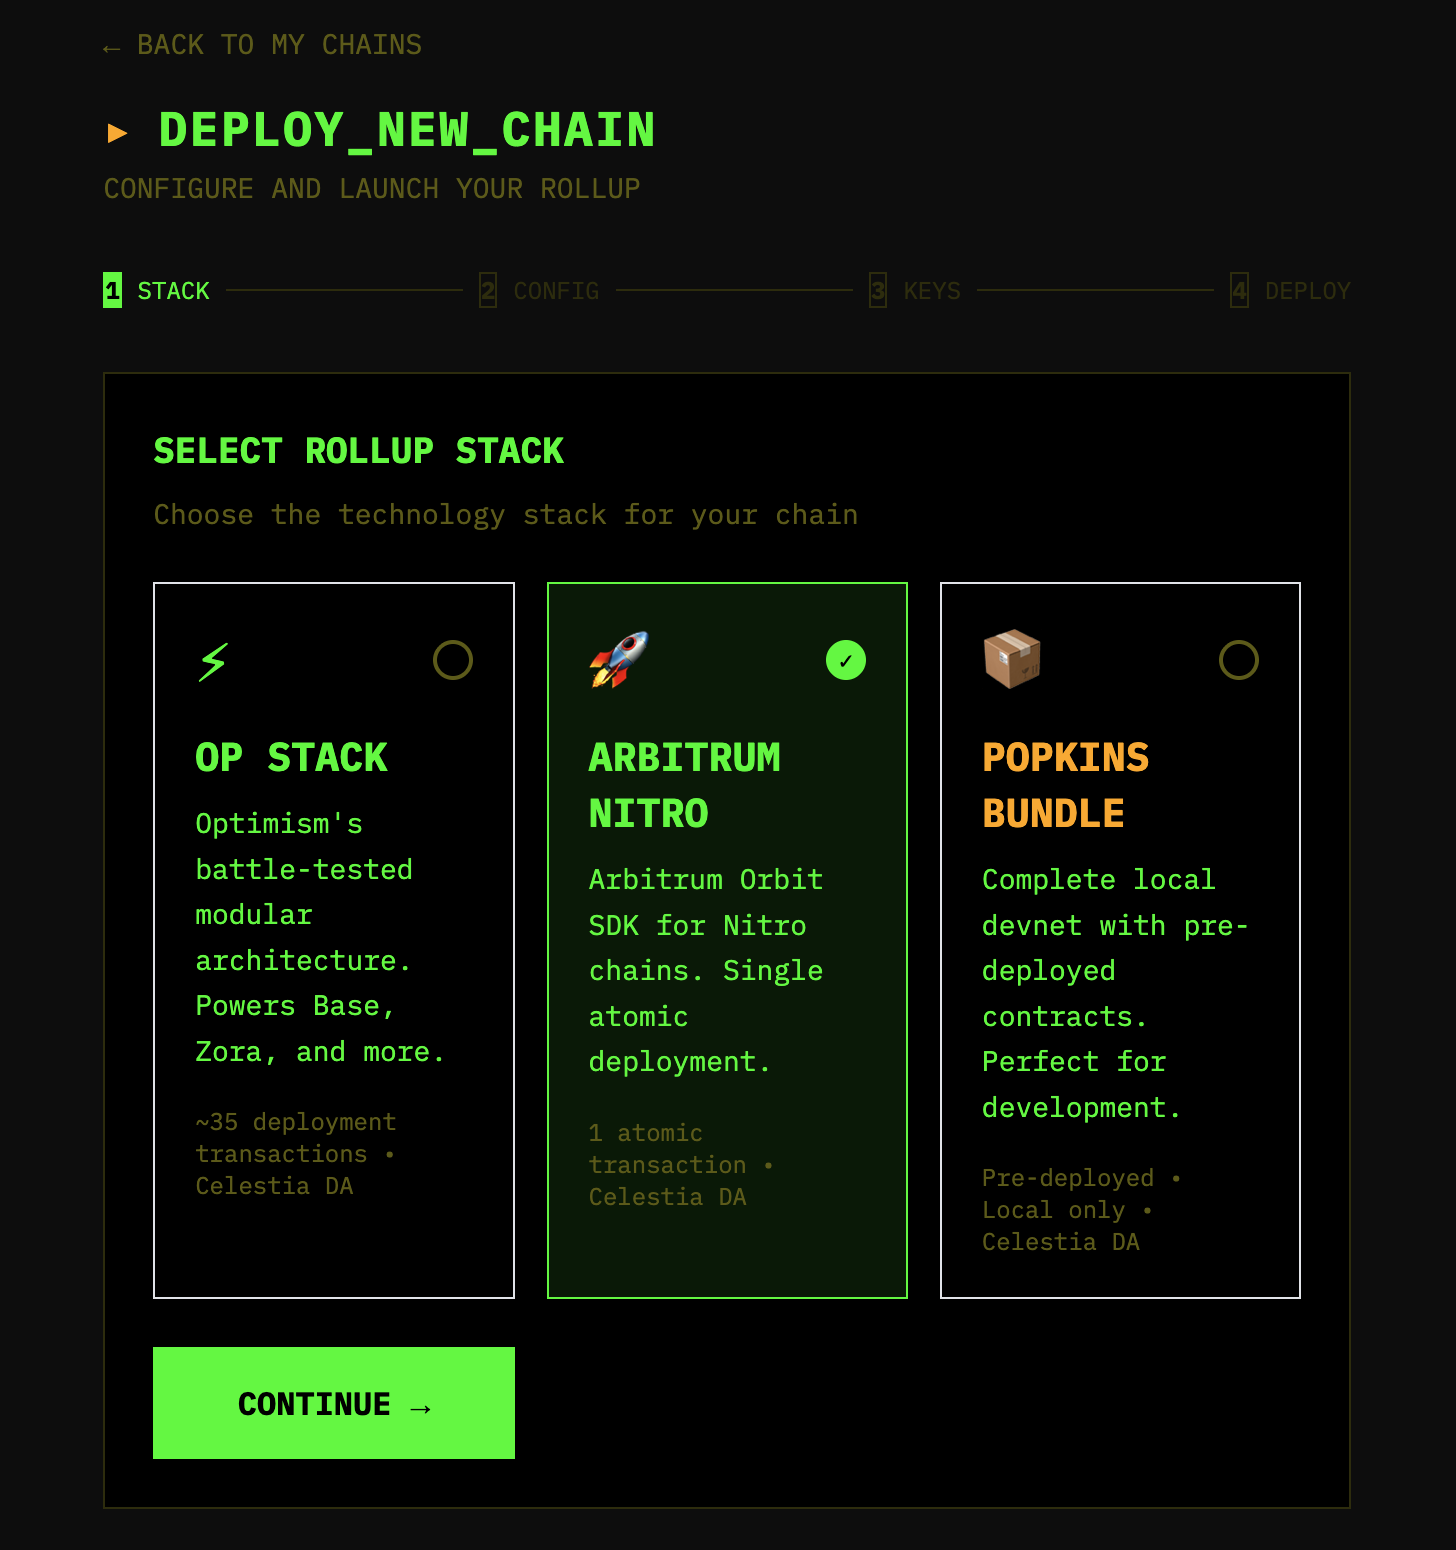
- Click ”+ NEW CHAIN” button in the top right corner and select Arbitrum Nitro as the stack.
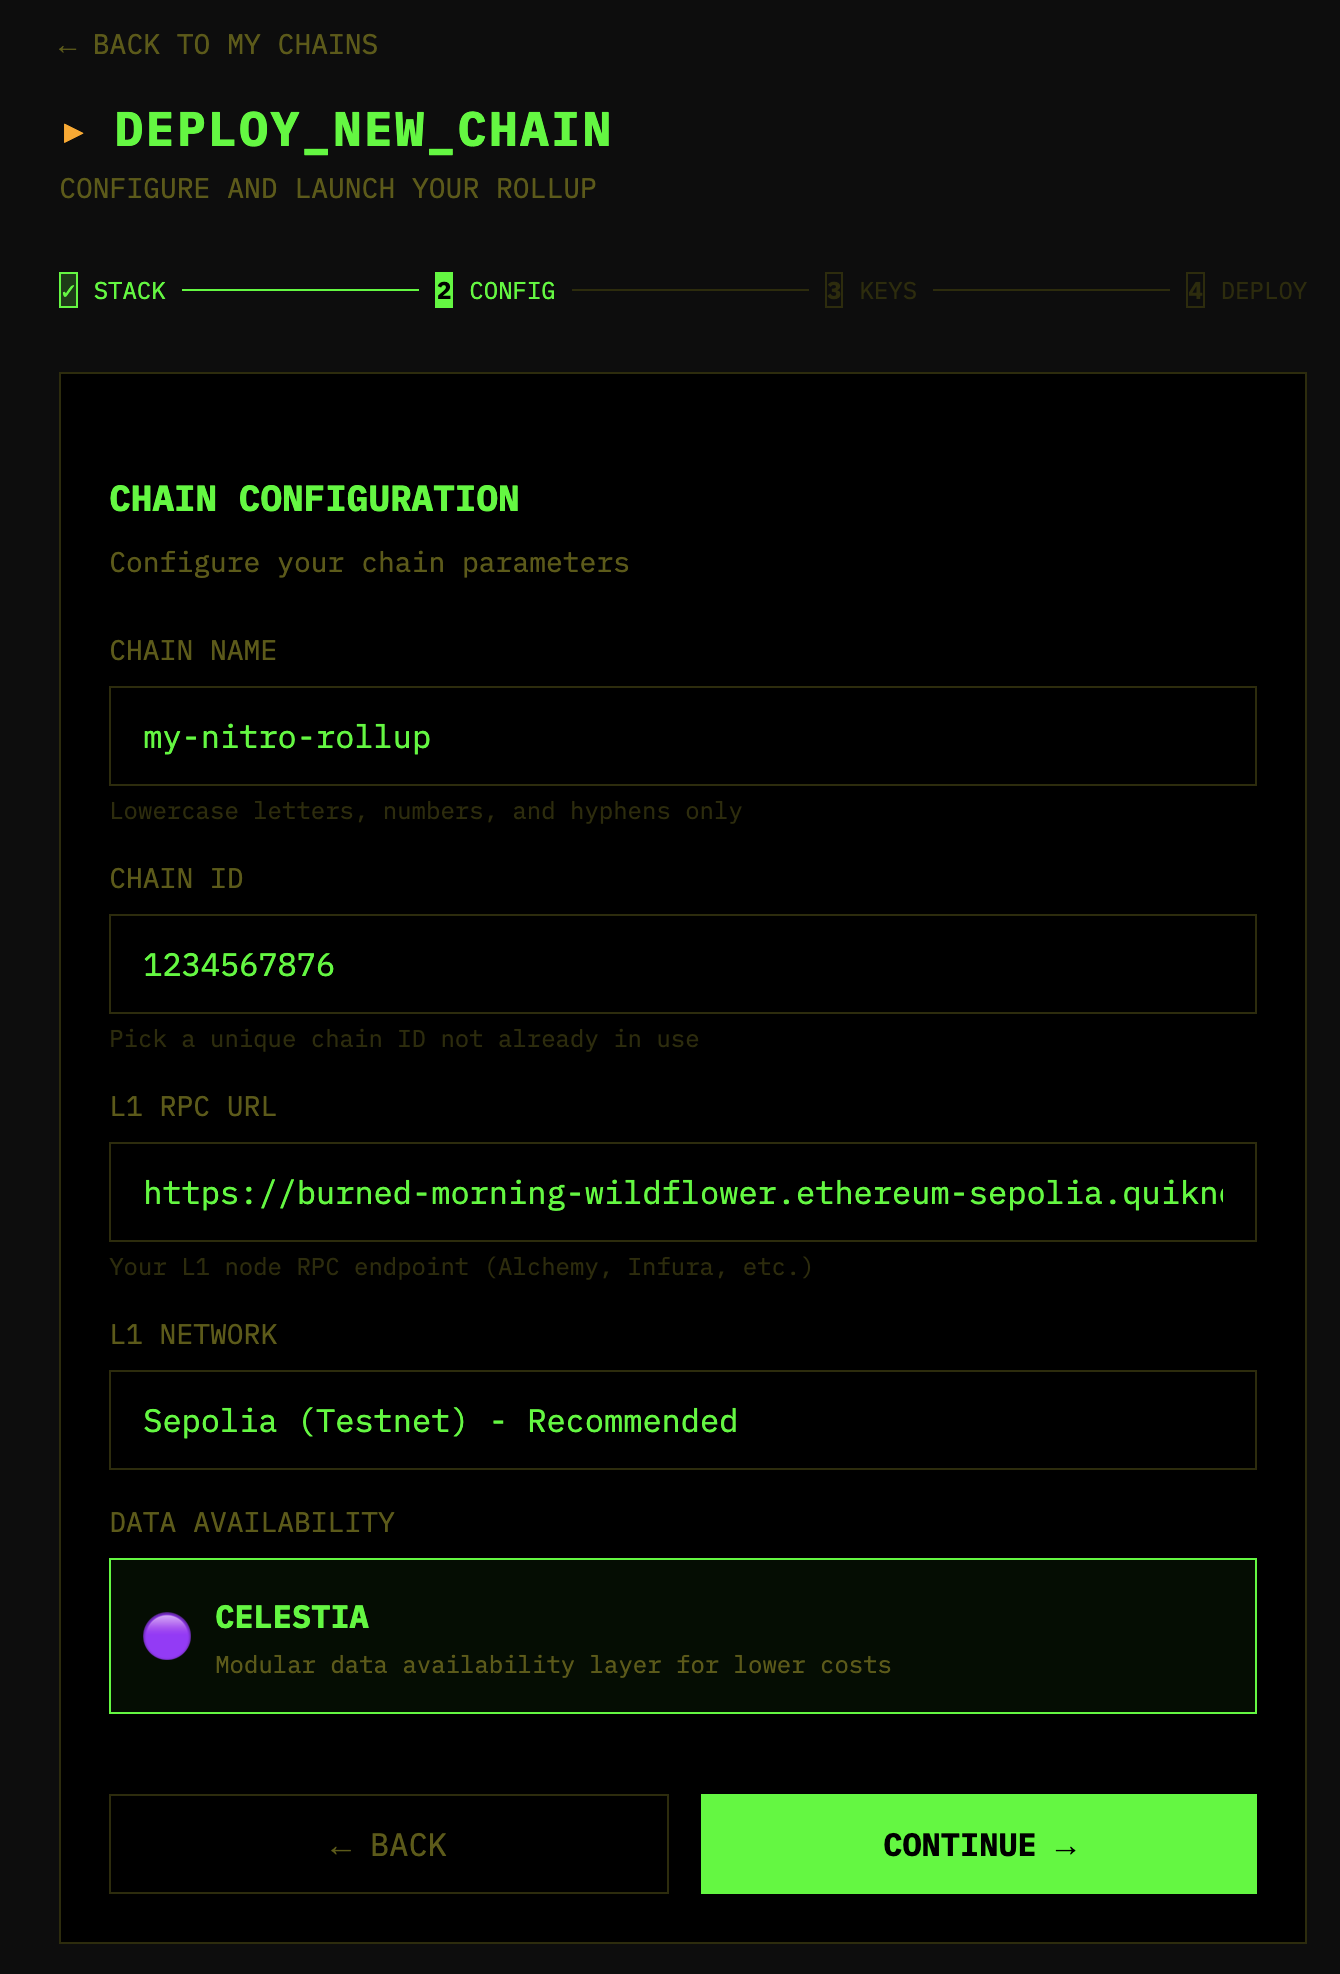
- Set up your config for the new chain! Pick a rollup name and ID that you want to use. This is where you’ll also put in the Ethereum Sepolia RPC URL from the environment setup.
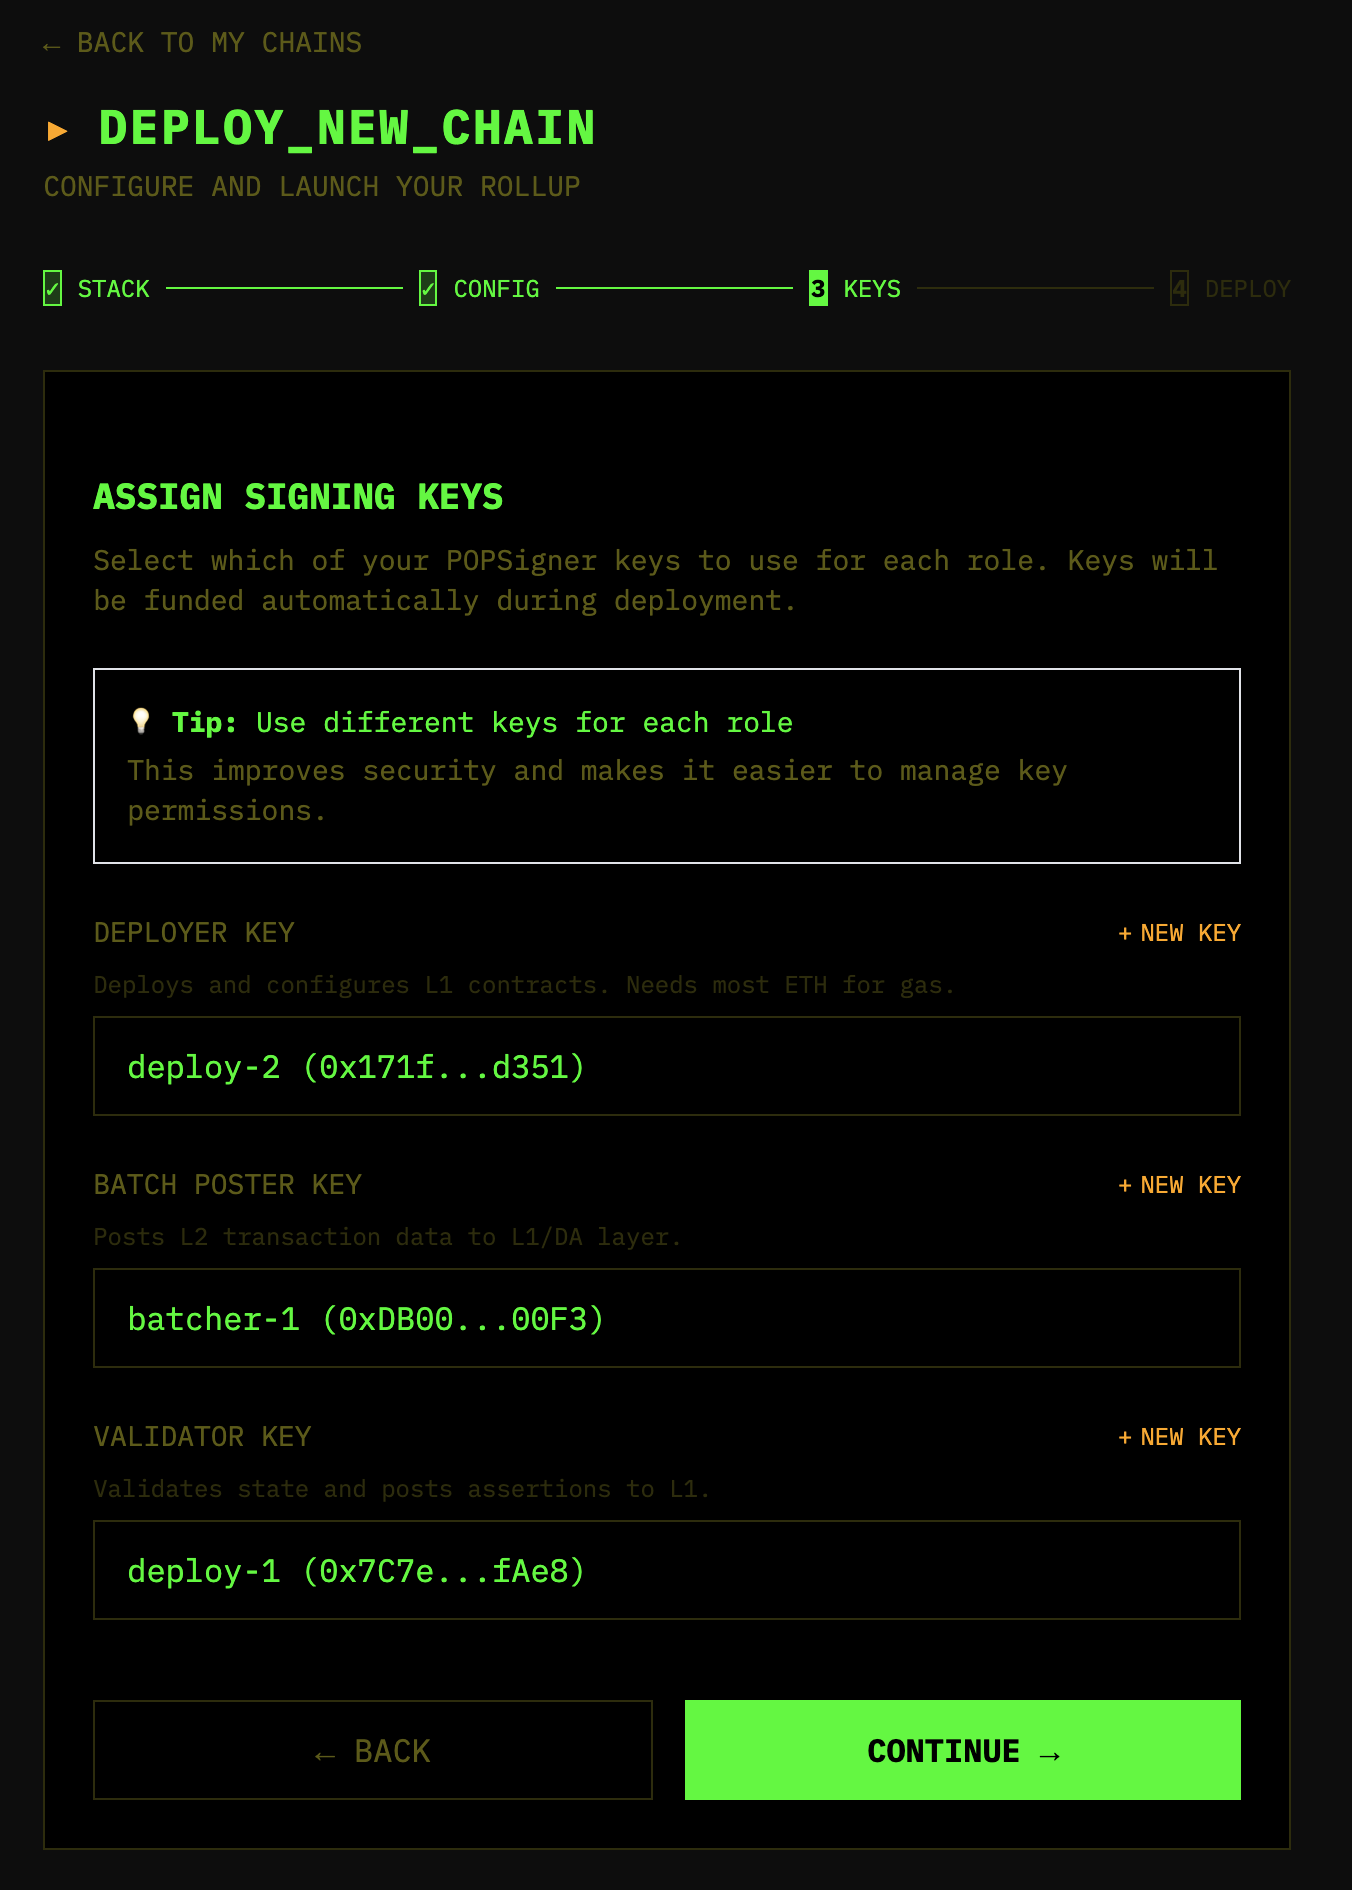
- Click “CONTINUE”, then assign keys accordingly:
- Deployer key:
deployer-1 - Batch poster key:
batcher-1 - Validator key:
validator-1 - You’ll set the Celestia key up later in the
.envandcelestia-config.toml
- Deployer key:
Then click “CONTINUE” again.
- Once you’ve set up the config, double-check the values before proceeding! Make sure you have sepoliaETH in the batcher key and 10 mochaTIA in your Celestia account.
- Click ”🚀 DEPLOY CHAIN”
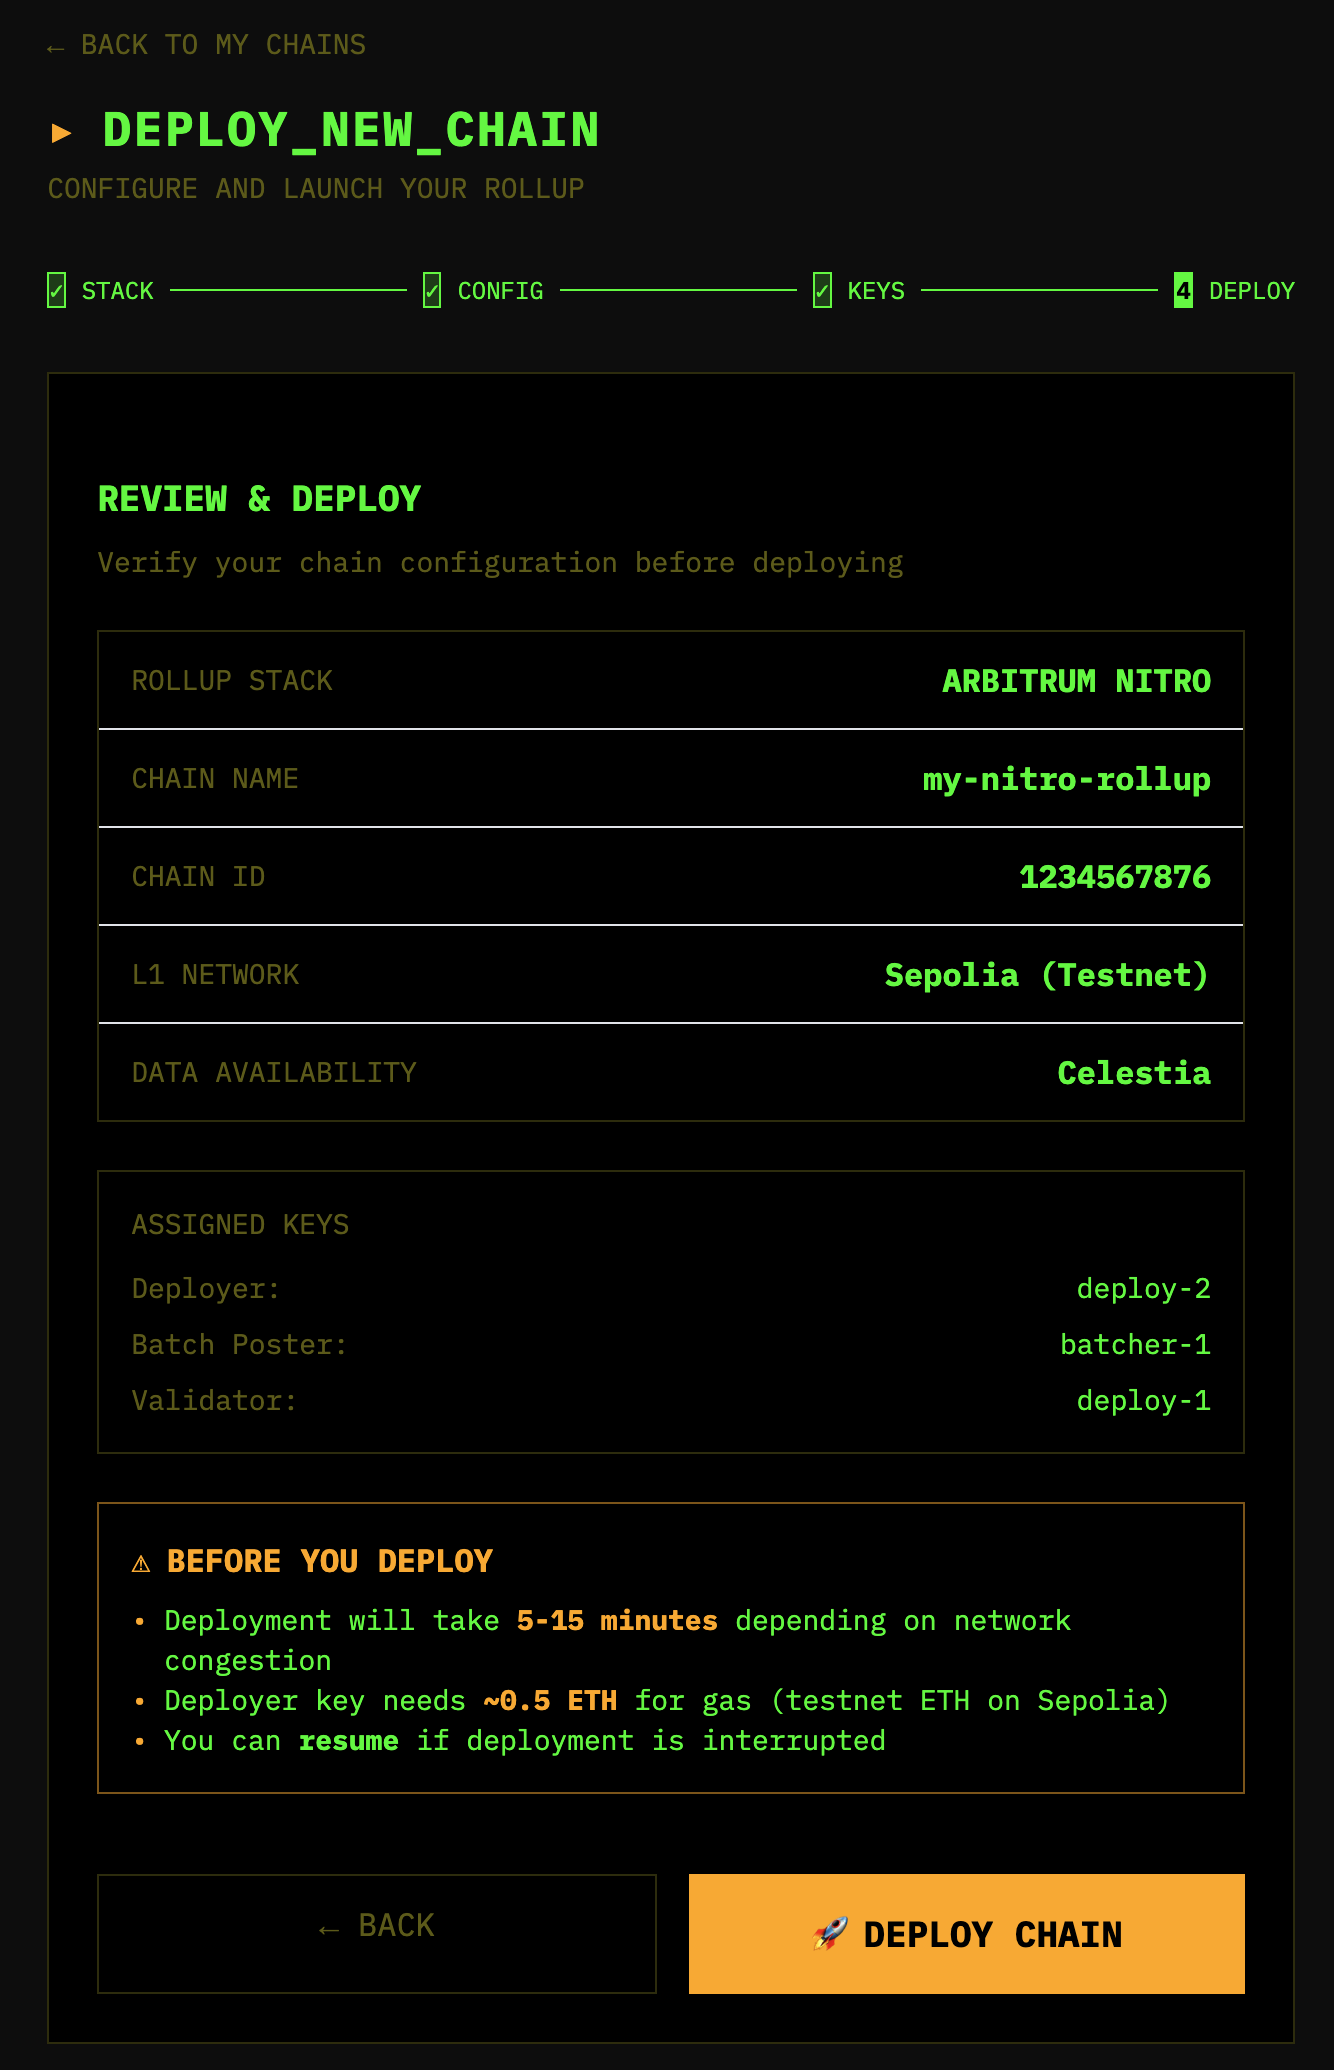
- Keep an eye out on the process as it completes. Once it’s finished, you will be able to download the config to run your rollup with Docker compose.
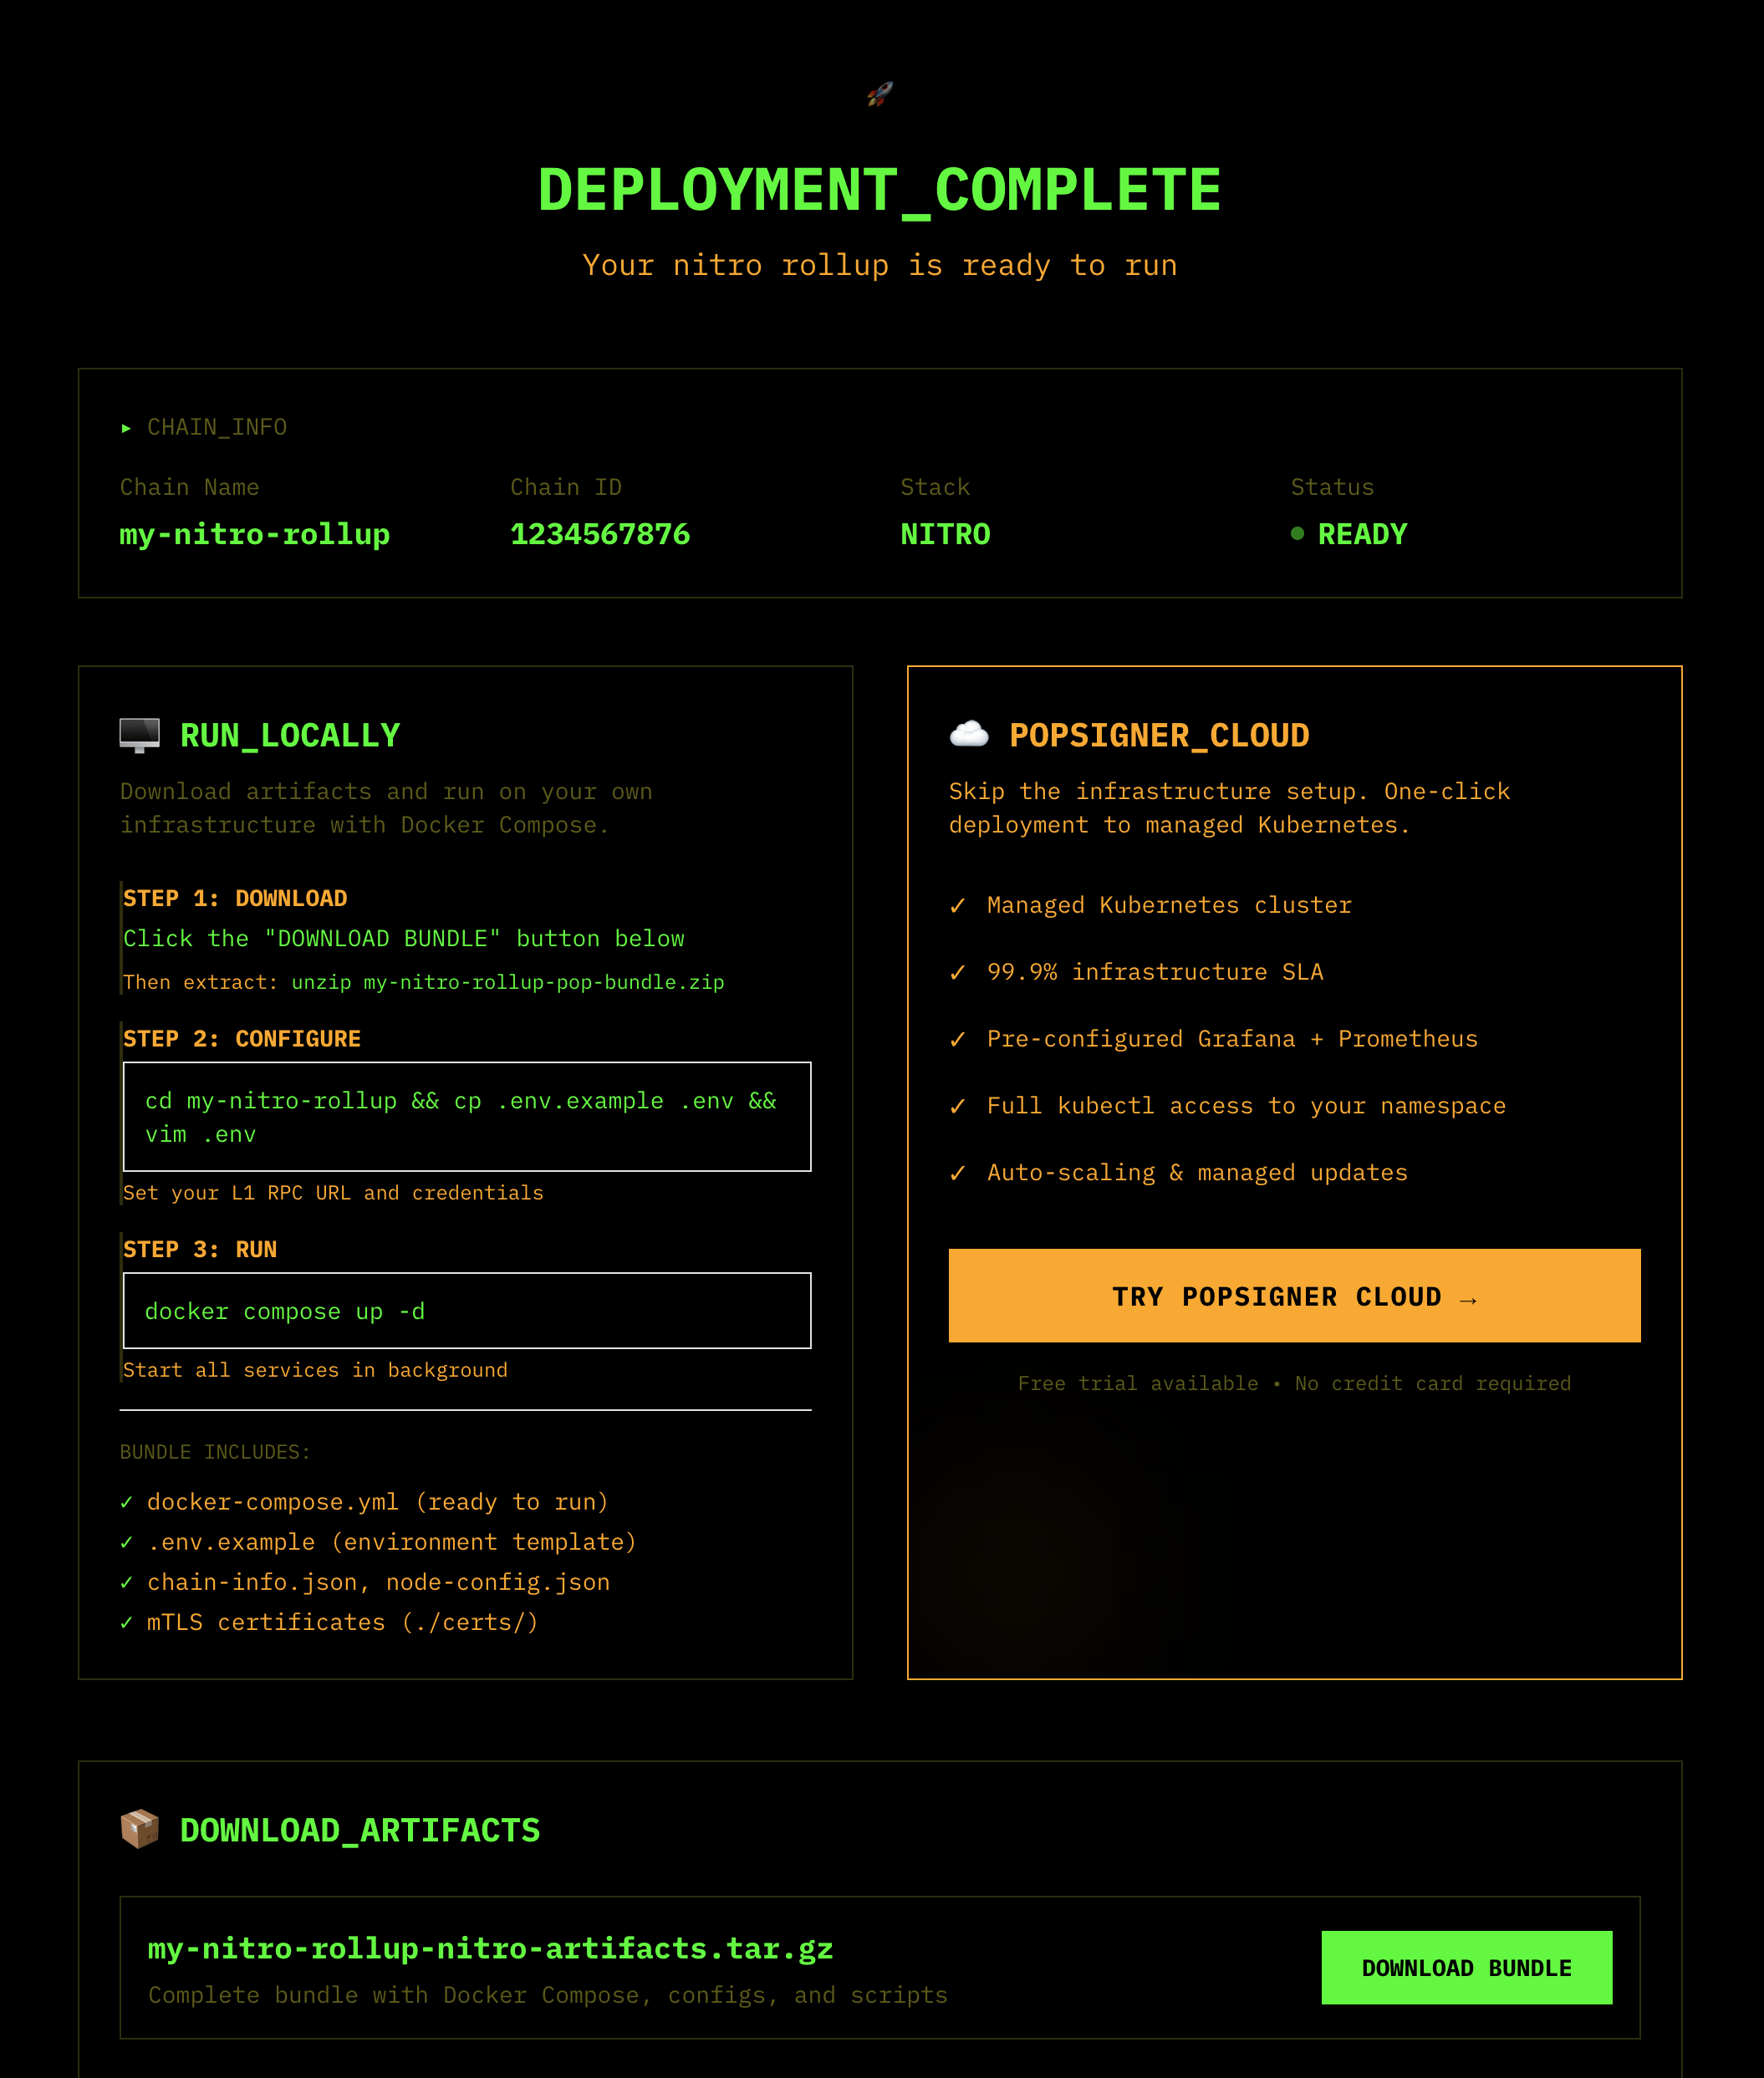
-
Download the bundle by clicking “DOWNLOAD BUNDLE”:
Then extract:
unzip YOUR-NITRO-BUNDLE-NAME.zip
Running locally with Docker
Now that you’ve set the rollup up by deploying contracts and downloading the artifacts, you’re ready to run it on your own and start producing blocks! Let’s start by understanding the bundle and making some config changes.
What’s in the bundle
my-nitro-rollup-v7-nitro-bundle/
├── config/
│   ├── chain-info.json          # Chain configuration (from SDK)
│   ├── core-contracts.json      # Deployed contract addresses (rollup, bridge, inbox, etc.)
│   ├── node-config.json         # Original node config (reference only)
│   └── celestia-config.toml     # Celestia DAS server config
├── certs/                       # PopSigner mTLS certificates (auto-generated during deployment)
│   ├── client.crt
│   ├── client.key
│   └── ca.crt
├── docker-compose.yaml          # Main Docker Compose configuration
├── .env.example                 # Environment template
└── README.md
Architecture
The bundle uses a ClientTX architecture — no local Celestia node required. The two Docker services connect directly to remote Celestia infrastructure:
┌──────────────────────────────────────────────────────────────────┐
│                         Docker Compose                           │
│                                                                  │
│  ┌─────────────────┐              ┌─────────────────────┐        │
│  │  Nitro Sequencer │  ─────────► │  Celestia DAS Server │       │
│  │  (nitro-node)    │  daprovider │  (nitro-das-celestia)│       │
│  │                  │  RPC        │  ClientTX            │       │
│  └────────┬─────────┘              └──────────┬──────────┘       │
│           │                                   │                  │
└───────────┼───────────────────────────────────┼──────────────────┘
            │                                   │
            │ L1 RPC                            │ gRPC (write) + JSON-RPC (read)
            ▼                                   ▼
    ┌───────────────┐               ┌──────────────────────────┐
    │   Sepolia     │               │   Celestia Mocha Testnet │
    │   (L1)        │◄───────────── │  - Consensus (gRPC)      │
    │               │  Blobstream   │   - DA Bridge (RPC)      │
    │  Blobstream X │               └──────────────────────────┘
    │  Contract     │
└───────────────┘- Writes (blob submission): The Celestia DAS server sends blobs via direct gRPC to Celestia consensus nodes, signed remotely by PopSigner.
- Reads (blob retrieval): The Celestia DAS server reads blobs via JSON-RPC from Celestia DA Bridge nodes.
- L1 transactions: The Nitro sequencer posts batch commitments and staker assertions to Sepolia, signed remotely by PopSigner via mTLS.
- Startup order: The Nitro sequencer waits for the Celestia DAS server’s healthcheck to pass before starting.
Two PopSigner keys explained
This setup uses two separate PopSigner keys with different authentication methods:
| L1 (Sepolia) PopSigner | Celestia PopSigner | |
|---|---|---|
| Used by | Nitro batch poster and staker/validator | Celestia DAS server |
| Purpose | Signing L1 transactions (batch submissions, staking) | Signing Celestia blob transactions |
| Auth method | mTLS certificates (./certs/) | API key + Key ID |
| Config | POPSIGNER_MTLS_URL + cert files | POPSIGNER_CELESTIA_API_KEY + POPSIGNER_CELESTIA_KEY_ID |
| Funds needed | ETH on Sepolia | TIA on Celestia Mocha |
The mTLS certificates in ./certs/ are auto-generated during deployment by Popkins — you don’t need to create them manually.
Services and ports
| Service | Port | Description |
|---|---|---|
| Nitro Sequencer | 8547 | HTTP RPC |
| Nitro Sequencer | 8548 | WebSocket RPC |
| Nitro Sequencer | 9642 | Metrics |
| Nitro Sequencer | 9644 | Feed (for full nodes to subscribe) |
| Celestia DAS Server | 9876 | DA Provider RPC (Nitro connects here) |
| Celestia DAS Server | 6060 | Metrics |
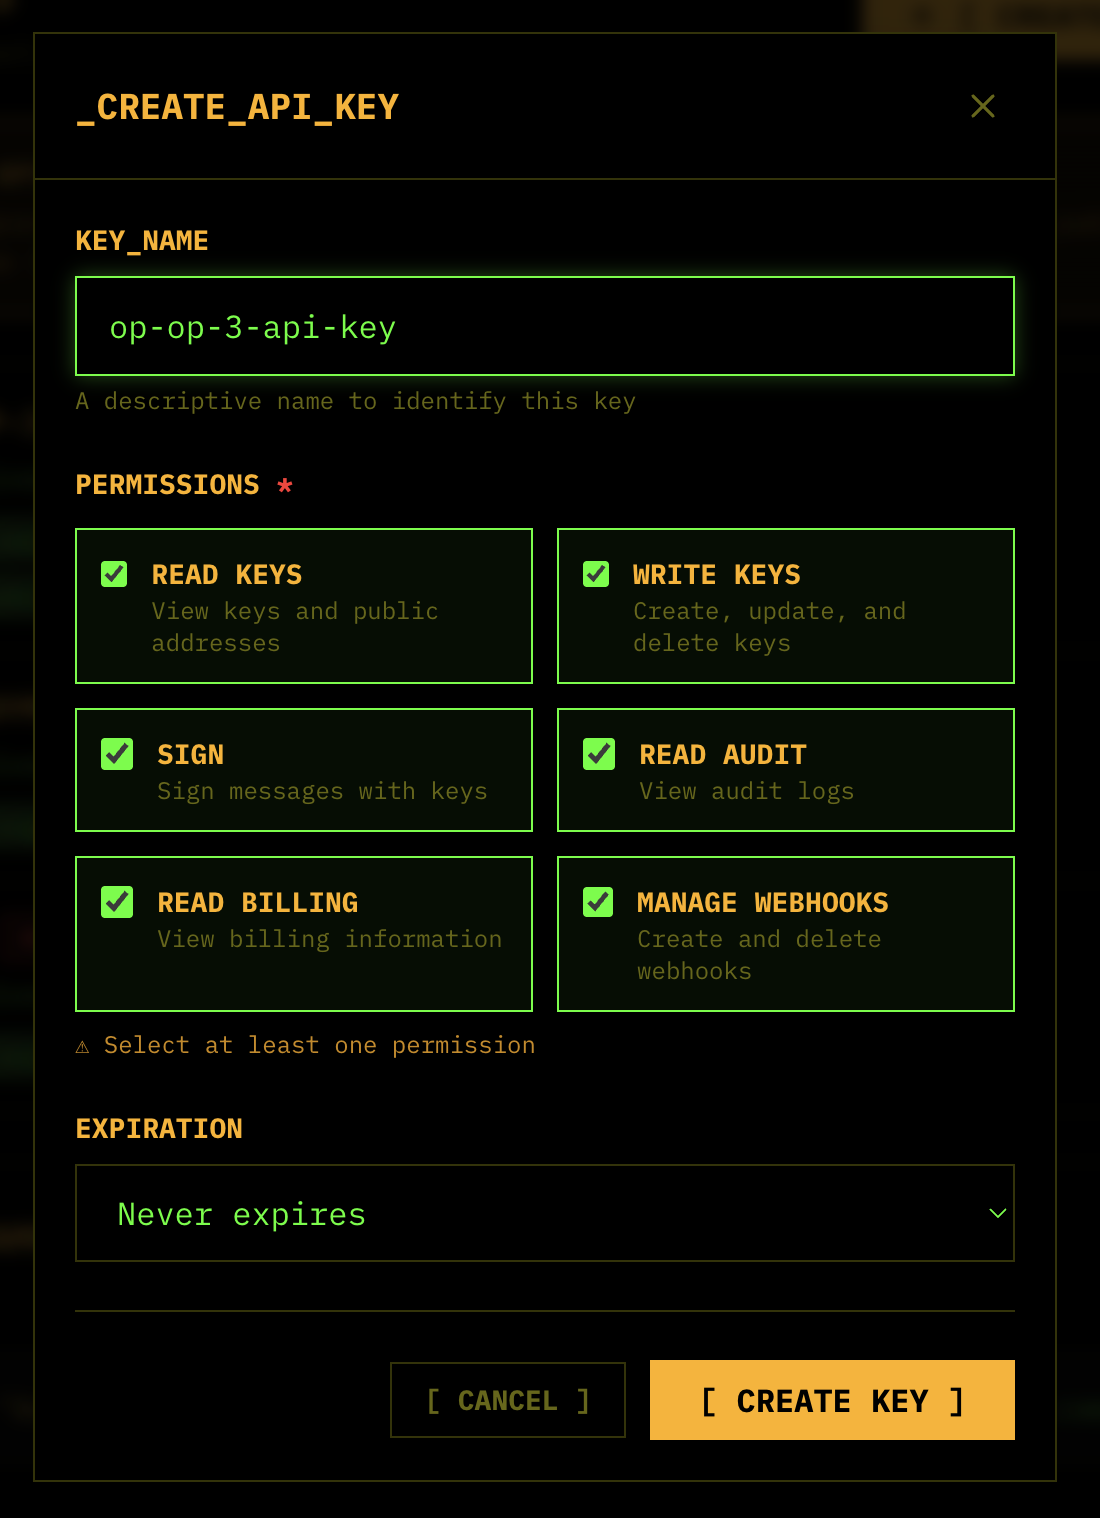
Set up Popsigner API key
Set up an API key on Popsigner.com . This is different than creating a key for a blockchain account. Save this for the next step in your clipboard. You’ll only be able to see it once, for safe security practice.
Configure .env
-
Copy
.env.exampleinto.env:cd my-nitro-rollup-v7-nitro-bundle && cp .env.example .env -
Fill in the L1 (Sepolia) RPC URL. WSS is recommended for sequencers (real-time updates, lower latency):
L1_RPC_URL=wss://sepolia.infura.io/ws/v3/YOUR_KEY -
Verify the batch poster and staker addresses match your PopSigner keys. These were populated during deployment:
BATCH_POSTER_ADDRESS=0xYOUR_BATCH_POSTER_ADDRESS STAKER_ADDRESS=0xYOUR_STAKER_ADDRESS -
Fill in the Celestia Popsigner credentials:
-
For
POPSIGNER_CELESTIA_API_KEY, use the API key you created in Step 1:POPSIGNER_CELESTIA_API_KEY=bbr_live_YOUR_API_KEY -
For
POPSIGNER_CELESTIA_KEY_ID, go to the Celestia key in Popsigner, click “View”, and copy the “KEY_ID”:POPSIGNER_CELESTIA_KEY_ID=YOUR_KEY_ID
-
-
Verify the Docker images are set. The defaults should work out of the box:
NITRO_IMAGE=rg.nl-ams.scw.cloud/banhbao/nitro-node-dev:v3.10.0
NITRO_DAS_IMAGE=rg.nl-ams.scw.cloud/banhbao/nitro-das-server:v0.8.2
If you’ve built Nitro locally from source (
make dockerin the nitro repo), you can swapNITRO_IMAGEto your local tag instead (e.g.nitro-node-dev:latest).
Configure config/celestia-config.toml
This is the configuration for the Celestia DAS server — the sidecar that translates between Nitro’s DA provider protocol and Celestia. You need to fill in the Celestia endpoints and namespace.
-
Set the namespace. Celestia namespaces are hex strings. Generate a unique one:
export NAMESPACE=$(openssl rand -hex 10) && echo $NAMESPACEThen update the config:
[celestia] namespace_id = "YOUR_GENERATED_NAMESPACE_HEX" -
Set the reader endpoint (for reading blobs via JSON-RPC). Use your Quicknode Celestia Mocha endpoint:
[celestia.reader] rpc = "https://delicate-sleek-lambo.celestia-mocha.quiknode.pro/8d7f3e5a9b2c4f1e6d8c9a5b7e4f2c1a6d3b9e5f/" auth_token = "" enable_tls = true -
Set the writer endpoint (for submitting blobs via gRPC). Use the same Quicknode endpoint, but as gRPC — no
https://, add port9090:[celestia.writer] core_grpc = "delicate-sleek-lambo.celestia-mocha.quiknode.pro:9090" core_token = "8d7f3e5a9b2c4f1e6d8c9a5b7e4f2c1a6d3b9e5f" enable_tls = true -
Set the PopSigner signer credentials. Open the
[celestia.signer.remote]section and replaceapi_keyandkey_idwith your actual values. Use the API key from Step 1 and the Key ID from your Popsigner dashboard (click “View” on your Celestia key):[celestia.signer.remote] api_key = "bbr_live_YOUR_ACTUAL_API_KEY" key_id = "your-actual-key-id-uuid" -
Set the validator RPC endpoint. In the
[celestia.validator]section, replaceeth_rpcwith your Sepolia RPC URL (the same one from your.env):[celestia.validator] eth_rpc = "wss://sepolia.infura.io/ws/v3/YOUR_KEY"This is used by Blobstream to query data root attestations for fraud proofs.
Run with Docker
Now you’re ready to run this with Docker!
docker compose up -dOn Linux, use docker compose --env-file .env up -d to load the .env.
Check the logs to verify everything is running:
docker compose logs -fYou should see the Celestia DAS server start first (it has a healthcheck), followed by the Nitro sequencer connecting to it via the DA provider RPC and beginning to produce blocks.
Verify it’s running
Test the Celestia DAS server:
curl -X POST http://localhost:9876 \
  -H "Content-Type: application/json" \
  -d '{"jsonrpc":"2.0","method":"daprovider_getSupportedHeaderBytes","params":[],"id":1}'
Check the chain ID on the sequencer:
cast chain-id --rpc-url http://localhost:8547Congratulations! You’re now running your first Nitro rollup with Celestia for DA.
Blobstream and fraud proofs
Blobstream is a bridge that relays Celestia data root attestations to Ethereum. This is critical for validators — it enables fraud proofs for batches posted to Celestia.
Here’s how the flow works:
- Batch Poster posts batch data to Celestia via the DAS server, getting back a
BlobPointer - Batch Poster posts the batch commitment to the Sequencer Inbox on L1
- Blobstream relays Celestia block data roots to the Blobstream X contract on L1
- Validator (during a fraud proof challenge) calls
GetProofon the Celestia DAS server - Celestia DAS server queries the Blobstream contract for the data root attestation
- Celestia DAS server returns proof data that can be verified on-chain
The Blobstream X contract address for Sepolia is configured in celestia-config.toml under [celestia.validator]. You can check the latest deployed addresses in the Blobstream documentation.
Troubleshooting
Check service health
docker compose ps
docker compose logs celestia-das-server
docker compose logs nitro-sequencer
Test Celestia DAS server
curl -X POST http://localhost:9876 \
  -H "Content-Type: application/json" \
  -d '{"jsonrpc":"2.0","method":"daprovider_getSupportedHeaderBytes","params":[],"id":1}'
Celestia DAS server fails with “unauthorized: Authentication required”
This usually means the PopSigner credentials in celestia-config.toml weren’t filled in. Check the [celestia.signer.remote] section — if api_key or key_id still contain placeholder values like ${POPSIGNER_CELESTIA_API_KEY}, replace them with the actual values. TOML does not support environment variable substitution.
Batch poster not submitting to Celestia
- Check if Celestia PopSigner key is funded with TIA
- Check celestia-das-server logs:
docker compose logs -f celestia-das-server - Verify Celestia endpoint connectivity in
celestia-config.toml
Blobstream proof failures
- Verify
blobstream_addrincelestia-config.tomlis correct for Sepolia - Check that
eth_rpcin[celestia.validator]can reach the parent chain - Blobstream may need time to relay attestations (~1 hour)
BOLD staker issues
The BOLD protocol requires WETH (not native ETH) for staking. Before starting, ensure your STAKER_ADDRESS has:
- WETH tokens (wrap ETH via
WETH.deposit()) - Approved the ChallengeManager contract to spend WETH
The stake amount is ~0.1 ETH equivalent per assertion level.